Getting Started
This section demonstrates how to run SelfX with simple examples. Each example shows the minimal code required and the resulting dashboard output.
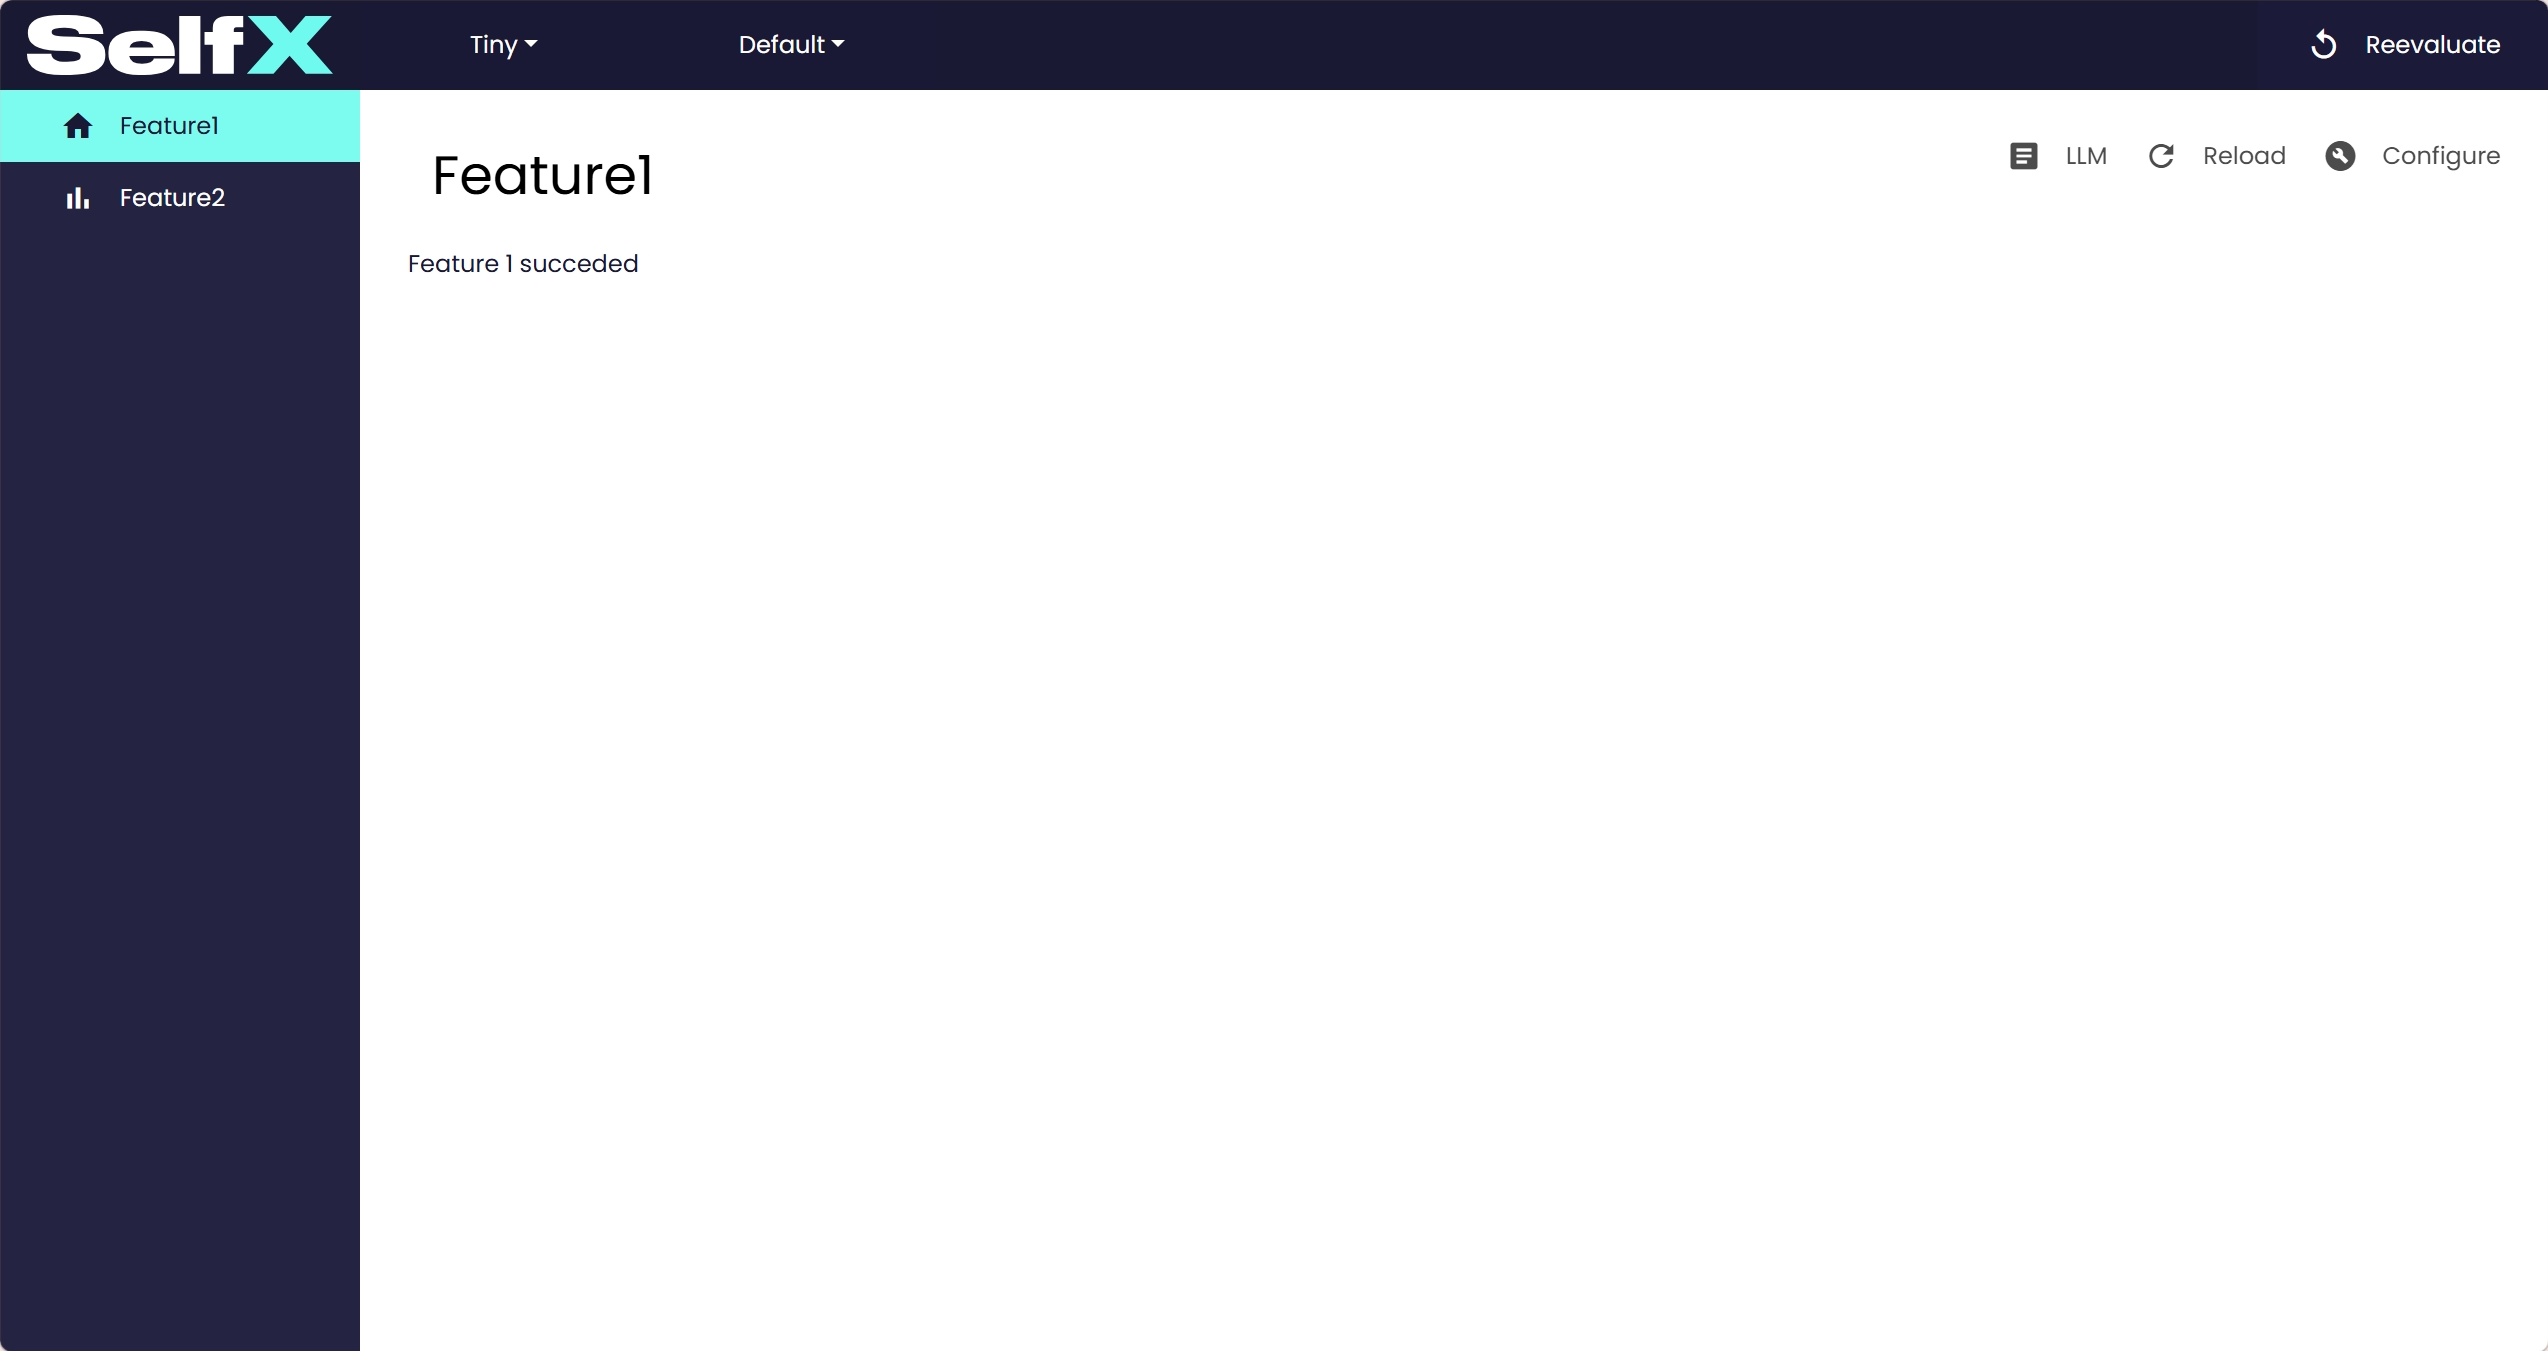
Basic Example
The following script demonstrates the smallest working SelfX setup.
tiny_example.py
from selfx.dash.dashboard import SelfXDash
from selfx.backend.features import Feature

class Feature1(Feature):
    def perform(self, start, end):
        return 1

    def layout(self, role, analysis, start, end):
        return "Feature 1 succeded"

    def icon(self):
        return 'home'

class Feature2(Feature):
    required_features = "Feature1"

    def perform(self, start, end):
        return 2

    def layout(self, role, analysis, start, end):
        return "Feature 2 succeded"

    def icon(self):
        return 'bar_chart'

app = SelfXDash()
app.add_system('Tiny', features=[Feature1, Feature2])

app.run(port=8050, host="127.0.0.1")
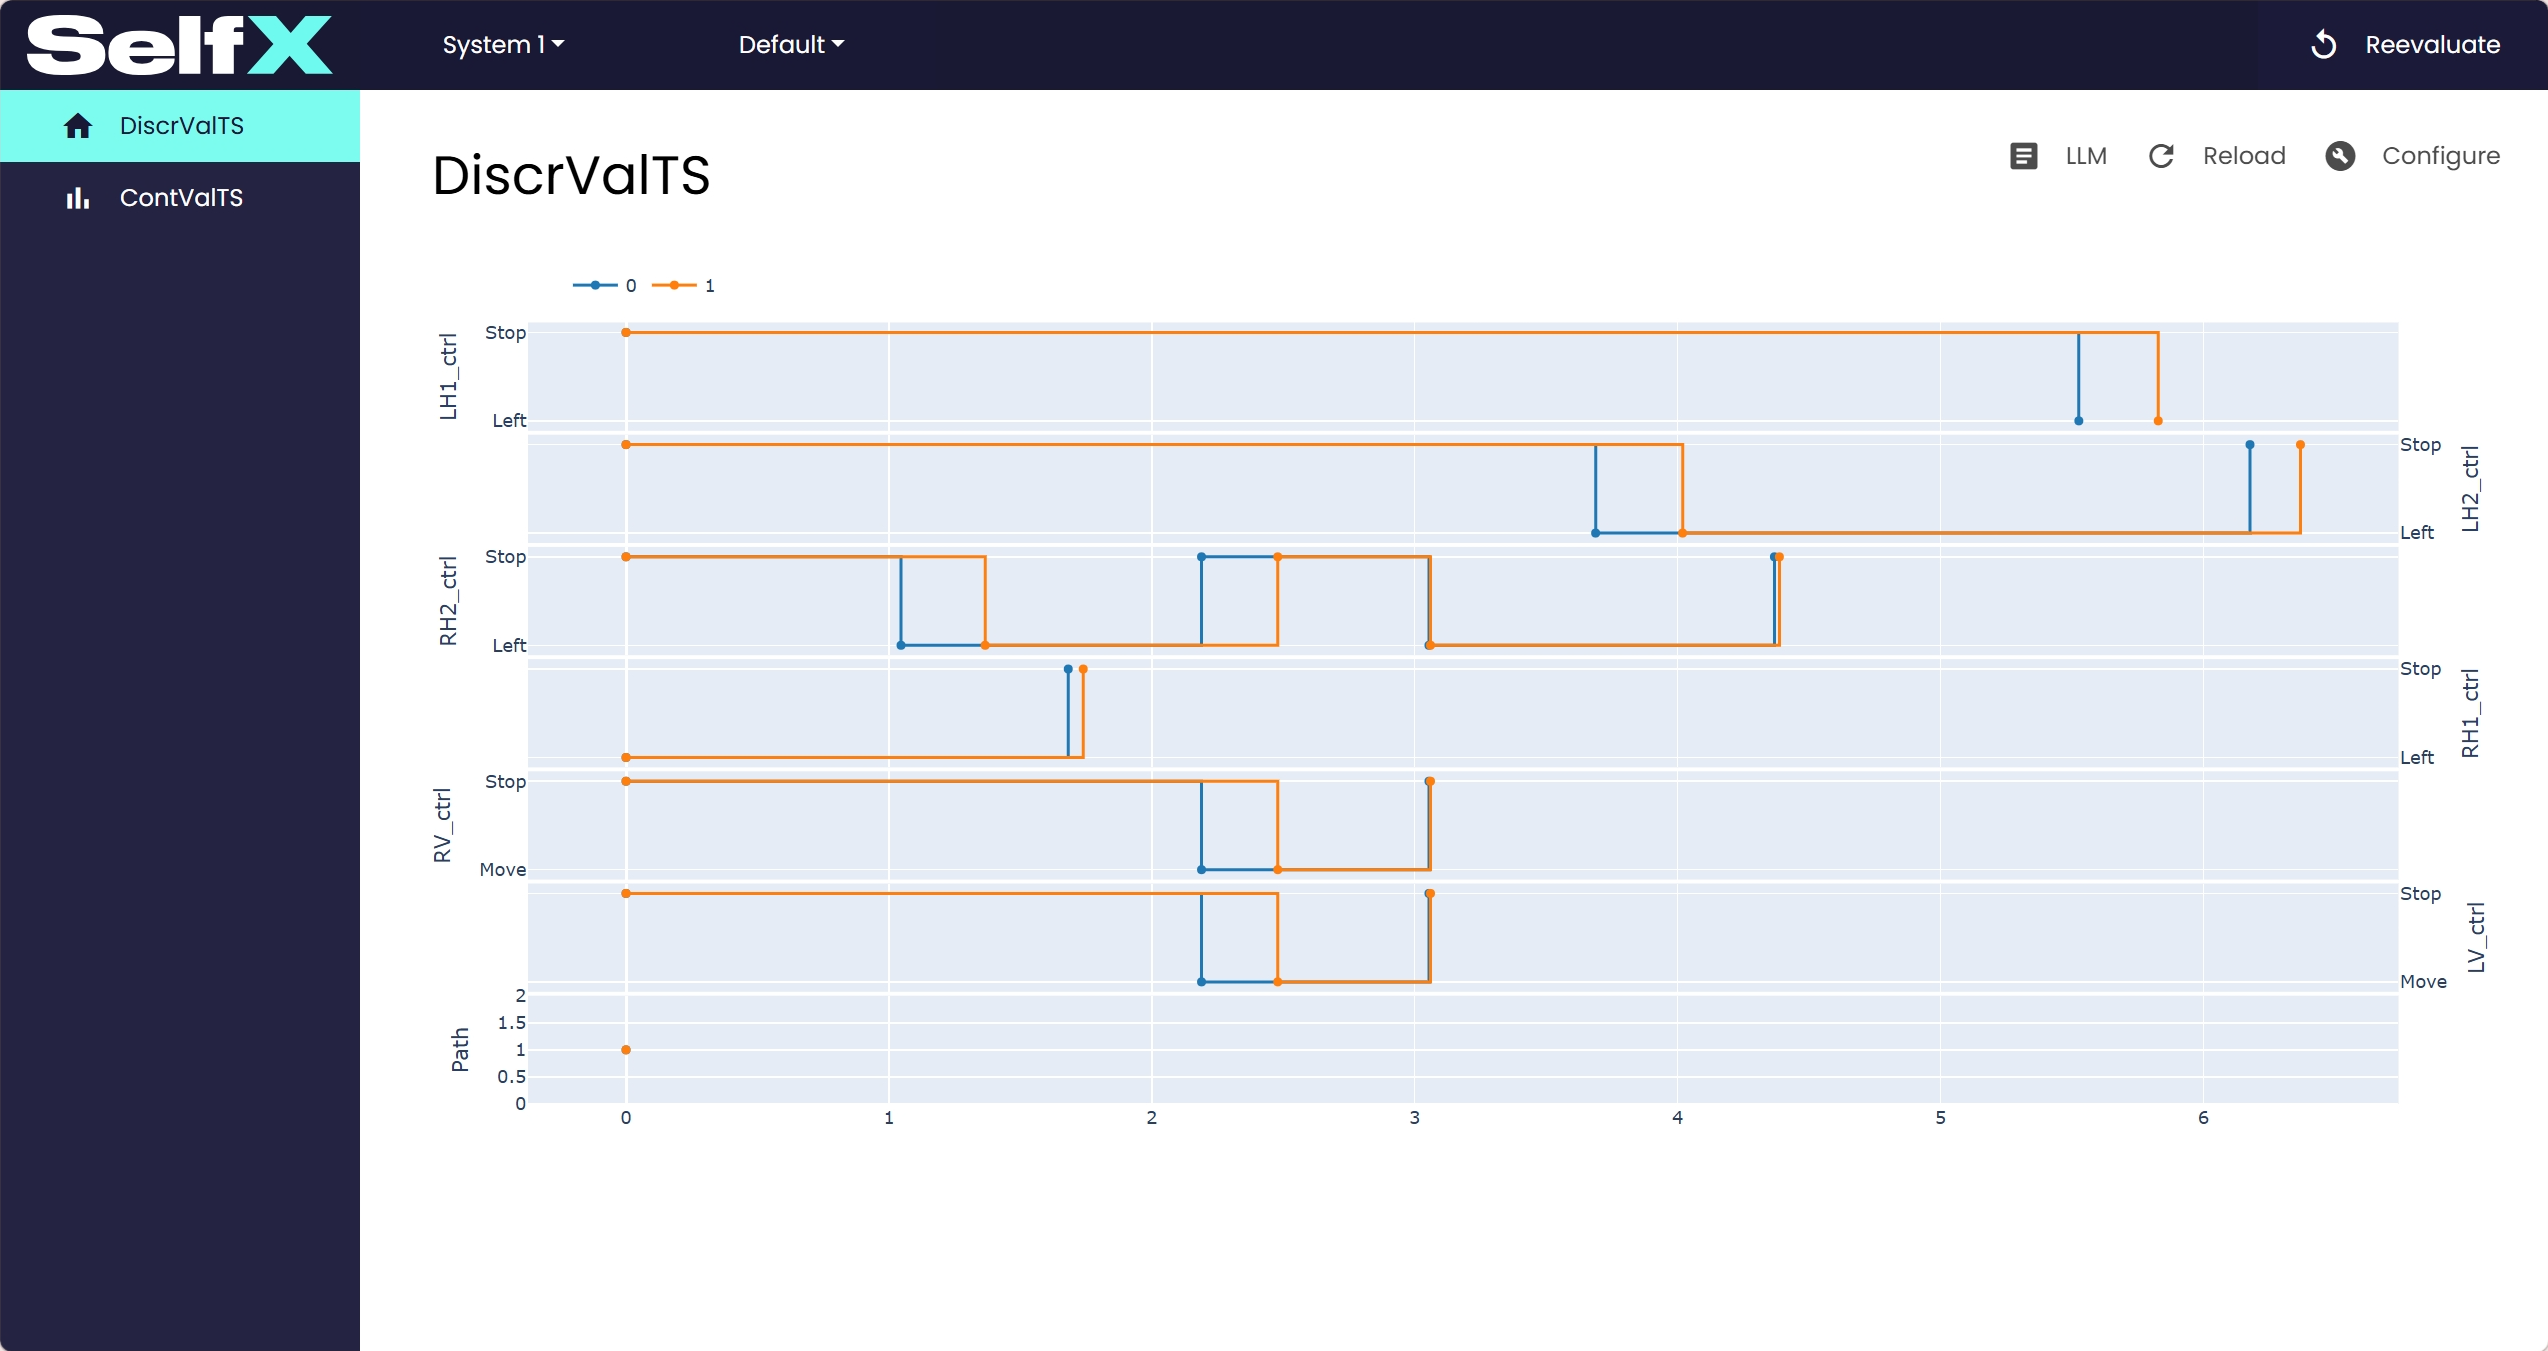
Conveyor Example
This example shows a slightly more realistic scenario using conveyor data.
conveyor_example.py
import ml4cps.vis
from ml4cps.examples import conveyor_system_sfowl
from dash import dcc
from selfx.dash.dashboard import SelfXDash
from selfx.backend.features import Feature

class DiscrValTS(Feature):
    def perform(self, start, end):
        dd, cd = conveyor_system_sfowl()
        return dict(discrete=dd, continuous=cd)

    def layout(self, role, analysis, start, end):
        res = self.get_result(start)
        fig = ml4cps.vis.plot_timeseries(res['discrete'][0:8:4], discrete=True, plot_only_changes=True,
                                         height=600, line_shape="hv", mode="lines+markers", showlegend=True)
        return [dcc.Graph(figure=fig)]

    def icon(self):
        return 'home'

class ContValTS(Feature):
    required_features = "DiscrValTS"

    def layout(self, role, analysis, start, end):
        res = self.get_result(start, "DiscrValTS")
        fig = ml4cps.vis.plot_timeseries(res['continuous'][0:8:4], showlegend=True)
        fig.update_layout(height=1600)
        return [dcc.Graph(figure=fig)]

    def icon(self):
        return 'bar_chart'

app = SelfXDash()
app.add_system('System 1', features=[DiscrValTS, ContValTS])

app.run(port=8050, host="127.0.0.1")